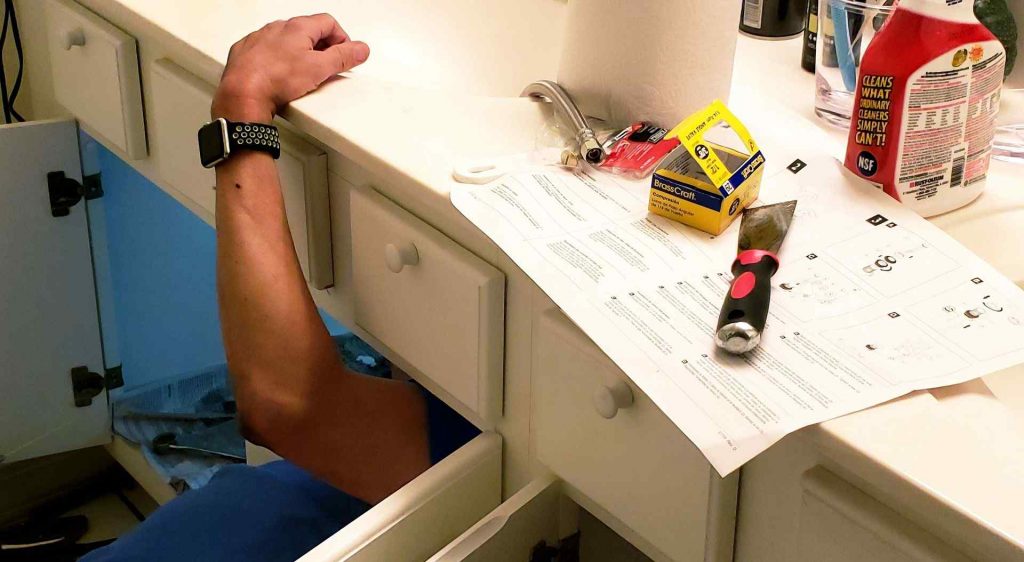
Water filters under your sink are an extremely essential equipment. Keeping them up and running is something every user should work on without fail. But to do so, you need to change the under-sink water filter itself as they its effectiveness tends to deteriorate over time. Fortunately, everyone can do it, as it doesn’t require anything other than the right tools, time, and patience.
Table of Contents

In the following article, we’ll learn how often you need to change the water filter under your sink. We will also be guiding you through the process of doing so. For doing so, we’ll first mention the tools required, and then we’ll learn how to use them for this task.
How Often Should An Under Sink Water Filter Be Changed?
Under sink water filters are located beneath your sinks or basins. Similar to any other water filter, their job is to create an intermediate between the main supply and faucets. Since this kind of filter is connected directly to one’s cold water line, it is very easy to clean and replace.
As for how often you need to replace or clean them, there is no one answer for this as each product is unique in its own right. Hence, each has its own unique maintenance and replacement guidelines. To know about the replacement frequency of your specific under sink filter, you should follow the guidelines given to you by the manufacturer. It is usually mentioned in the user manual. Some brands even offer an indication LED on their filters that tells you when the cartridge needs to be replaced.

Another replacement tactic you can follow is to eyeball the filtered water. We know that as filters start to wear out, they tend to lose their ability to properly filter water. Now, if your filter is doing the same, you will notice that your water looks different (usually darker and hazier). It might also start tasting different.
Generally, brands today offer under sink water filters that last about 9 to 12 months. Therefore, you can also use this figure for reference and replace your filter cartridge just as a safety measure.
How To Change Under Sink Water Filter: Step By Step Guide
Now that we know how often you need to replace your under the sink water filter, we can get on to the steps you need to follow on doing so.
1. Preparation Steps and Tools Required
Before getting too committed to the task, better check if you got every necessary tool at hand. There’s nothing as frustrating as having to go back and forth every couple of minutes between the sink and the garage. What tools will you need? Take a look at the following list.
First, of course, you’ll need the sink filter replacement. Before purchasing, make sure to check the one already installed to find a perfect match. The filters vary from model to model, which could require making changes to the pipes the house currently has.
Here’s the one we personally recommend:
You’ll also need a couple of towels. It is almost inevitable to have leaks while changing the filter, and cleaning towels would do a good job of keeping the equipment dry. Not only will they make it easier to handle the tools, but it will allow you to check if there aren’t weak spots later on.
If you’re in need of one, here’s one:
Another tool you’ll need is the sump wrench. Now, this item comes with the filter purchase in most cases, but not all. When you buy the new filter, check with the manufacturer if they include the sump wrench too. Even if you already have one, it may be good to have a replacement.
Lastly, some filters need silicone lubricant. Perhaps, you won’t have to use it, as it depends on the filter models, but you’ll do well having the lube either way.
After getting all the tools ready, let’s start working on the operation to replace the filter.
2. Turning off the Valve and Drain Excess Water
Start by turning off the valve for the cold water, that will be your first step before going any further. To do it, check below the sink, as the valve is often in that location. After turning the valve, grab a couple of towels and lay them down.
Follow up by releasing the pressure of the lines, which you can do by turning on the faucets for both hot and cold water.
Depending on the filter model, you may have to do a couple more steps to release line pressure. For instance, some filters come equipped with a vent valve, and you’ll have to press that one too during this process. Regardless, you can check with the manufacturer in case you’re not sure.
Or, if you have a guide specific to the filter model you own, do a quick read through it to find if there are any particular steps you need to follow.
Once you do, the excess water in the filter will get released. Naturally, this process may lead to some water leaking onto the floor, that’s why we recommended laying down the towels. Make sure to clean as much as possible before continuing.
3. Removing the Filter
Wait until the lines drain out, and there’s a complete release of pressure in the lines. Then, you can start removing the old filter.
Grab the sump wrench and use it clockwise to remove the filter’s sump. While doing this step, you may encounter some stored water inside the sump. If the towels from the previous steps are too wet, lay down new dry ones, as they will be very helpful to catch the remaining water.
Continue by removing the O-Ring seal, which shouldn’t take long. When it comes loose, grab it, and put it somewhere safe. Make sure not to lose it because you will need it later.
After following those steps, you should be ready to get the old filter out. Remove it, and put it somewhere else. If you consider there’s no more use for it, you could put the removed filter in the trash can.
Getting back to the sump, you’ll need to clean it up before going further. You can clean it in another sink using soapy water. When the sump is clean, make sure to remove all of the soapy water to leave the sump in good conditions to reinstall it once again.

4. Replace the Filter
Now, as for the filter replacement, you’ll have to follow the guidelines provided by the manufacturer. There are plenty of filter models, and setting them up could be different for each one.
However, more often than not, you won’t have to do much to replace the filter. Put it in the sump, and then start pressing down right until it clicks. Then, add the silicone lube on the O-ring, and make sure to lubricate its groove.
While doing this operation, keep your eyes on the equipment to ensure they remain in place. Try not to move them out of their proper place, or you may have to do the whole process from the start.
Next, you’ll be lining up both the filter head and the sump. Follow up by turning the piece clockwise, as it will allow you to tighten it up and secure a firm grip.
For a final step, you could write the installation date on the label. If you do, you’ll have a proper reminder to know when to replace the filter once again. In case there’s no label for you to write, mark the date in a convenient place.
5. Testing
It’s time for the tests. Start by turning on the valve for the water. Open it slowly, and let it fill the filter. What you want to do here is check if there are no leaks. Allow the water to run freely for a couple of minutes, and if there are no problems, you’ll have replaced the water filter successfully.
Final Words
To maintain the water quality, we need to perform some maintenance tasks, and changing the water filter is one of those tasks. After replacing it, you can rest assured the under sink will work properly. As for how often you need to do so, that depends on the product itself as we have already concluded above.

I like you use water every day in everything I do. I love to find better ways to filter water I drink, soften hard water and find amazing water bottles for when I’m on the go.
I want to share what I find with you and review the options you might be looking for.
Author Profile – Tony Cosentino
Last update on 2024-03-17 / Affiliate links / Images from Amazon Product Advertising API. WaterFilterly is user-supported. We might receive a commission on any purchase you make through clicking links on this page.


